How to test an amplifier without a car
Amplifiers are essential components in-car audio systems, boosting the signal from the head unit to power speakers and delivering clear, crisp sound. But what if you need to test an amplifier outside of a car environment? Whether you’re troubleshooting an issue or simply want to ensure it’s in working order before installation, testing an amplifier without a car is a straightforward process. In this guide, we’ll walk you through the steps to effectively test your amplifier outside of a vehicle.
Step 1: Gather Necessary Equipment
Before beginning the testing process, gather the following equipment:
- Amplifier
- Power supply (at least matching the amplifier’s voltage (12-volt) and current requirements)
- RCA cables (if applicable)
- Speakers or a dummy load
- Multimeter (optional but recommended for voltage and continuity checks)
- Wiring accessories (such as wire strippers, crimp connectors, and electrical tape)
Step 2: Safety First, Always:
Remember, safety reigns supreme. Ensure proper ventilation, avoid exposed wires while powered on, and double-check connections to prevent equipment damage. When in doubt, consult a professional.
Step 3: Set Up the Amplifier
Place the amplifier on a stable surface in a well-ventilated area. Ensure there is enough space around the amplifier for airflow to prevent overheating during testing. Connect the power supply to the amplifier’s power input terminals, observing proper polarity (+ and -). Use appropriate wiring accessories to secure connections and prevent accidental short circuits.
Step 4: Connect the Audio Source
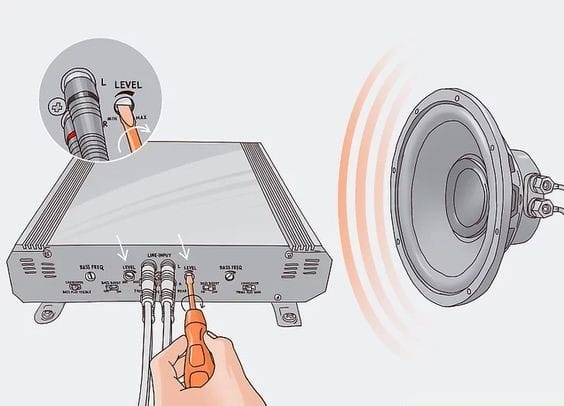
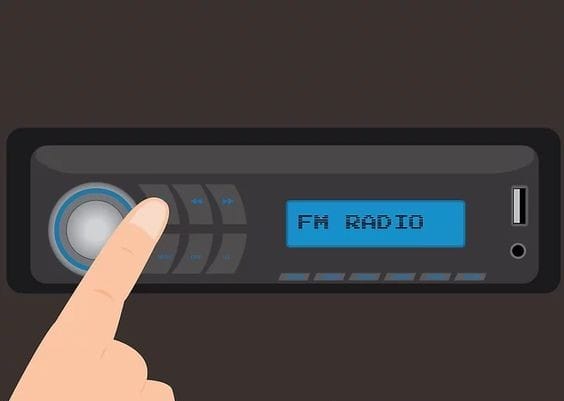
If testing the amplifier’s audio functionality, connect the audio source to the amplifier using RCA cables. Most amplifiers have RCA input jacks for connecting to head units or other audio sources. If your amplifier has speaker-level inputs, you can connect directly from a source like a smartphone or MP3 player using speaker wire.
Step 5: Connect Speakers or Dummy Load
Connect speakers or a dummy load to the amplifier’s output terminals. Ensure proper polarity (+ and -) is observed when connecting speakers. If using a dummy load, it should match the amplifier’s impedance rating to simulate the load of actual speakers accurately.
Step 6: Power On the Amplifier
Turn on the power supply and then the amplifier. Monitor the amplifier for any signs of abnormal behavior, such as excessive heat, smoke, or unusual sounds. If any such signs are observed, immediately power off the amplifier and disconnect it from the power supply.
Step 7: Test Amplifier Functionality
Once the amplifier is powered on, test its functionality by playing audio through the connected source. Verify that sound is being outputted through the speakers or dummy load and that the volume can be adjusted accordingly. Listen for any distortion, clipping, or other anomalies that may indicate a problem with the amplifier.
Step 8: Perform Voltage and Continuity Checks (Optional)
If equipped with a multimeter, you can perform voltage and continuity checks to ensure proper electrical connections and signal integrity. Measure the voltage at the amplifier’s power input terminals to confirm it matches the rated voltage of the power supply. Additionally, check for continuity across wiring connections to verify that there are no breaks or short circuits.
Step 9: Troubleshoot (If Necessary)
If you encounter any issues during testing, troubleshoot the amplifier by systematically checking connections, components, and settings. Refer to the amplifier’s manual for troubleshooting tips and recommended solutions.
Pro Tips and Troubleshooting
Start Soft, Ascend Gradually:
Begin with low volume and steadily increase to prevent equipment strain.
Resistor Rigmarole (Optional):
Lacking compatible speakers? Use resistors with the appropriate impedance to simulate a speaker load. But proceed with caution and consult the manual for guidance.
Connection Conundrum:
Double-check all connections, ensuring correct polarity. Refer to the manual for troubleshooting specific issues.
Seek Professional Guidance:
When in doubt, don’t hesitate to seek help from a qualified audio professional.
Final Note:
Testing an amplifier without a car is a practical process that can be done with minimal equipment and effort. By following these step-by-step instructions, you can effectively assess the functionality of your amplifier before installing it in a vehicle. Remember to exercise caution when working with electrical equipment and always prioritize safety. With proper testing, you can ensure that your amplifier delivers optimal performance and enhances your audio experience.


