How to install a Car Amplifier | Step-By-Step
Let’s face it, the factory sound system in most cars leaves something to be desired. Craving richer bass, crisper highs, and overall louder volume without distortion? Installing a car amplifier can be your answer. But before you dive headfirst into dismantling your car’s interior, check your state’s laws. Some states have regulations regarding sound systems, particularly maximum decibel levels, so ensure compliance to avoid unwanted tickets.
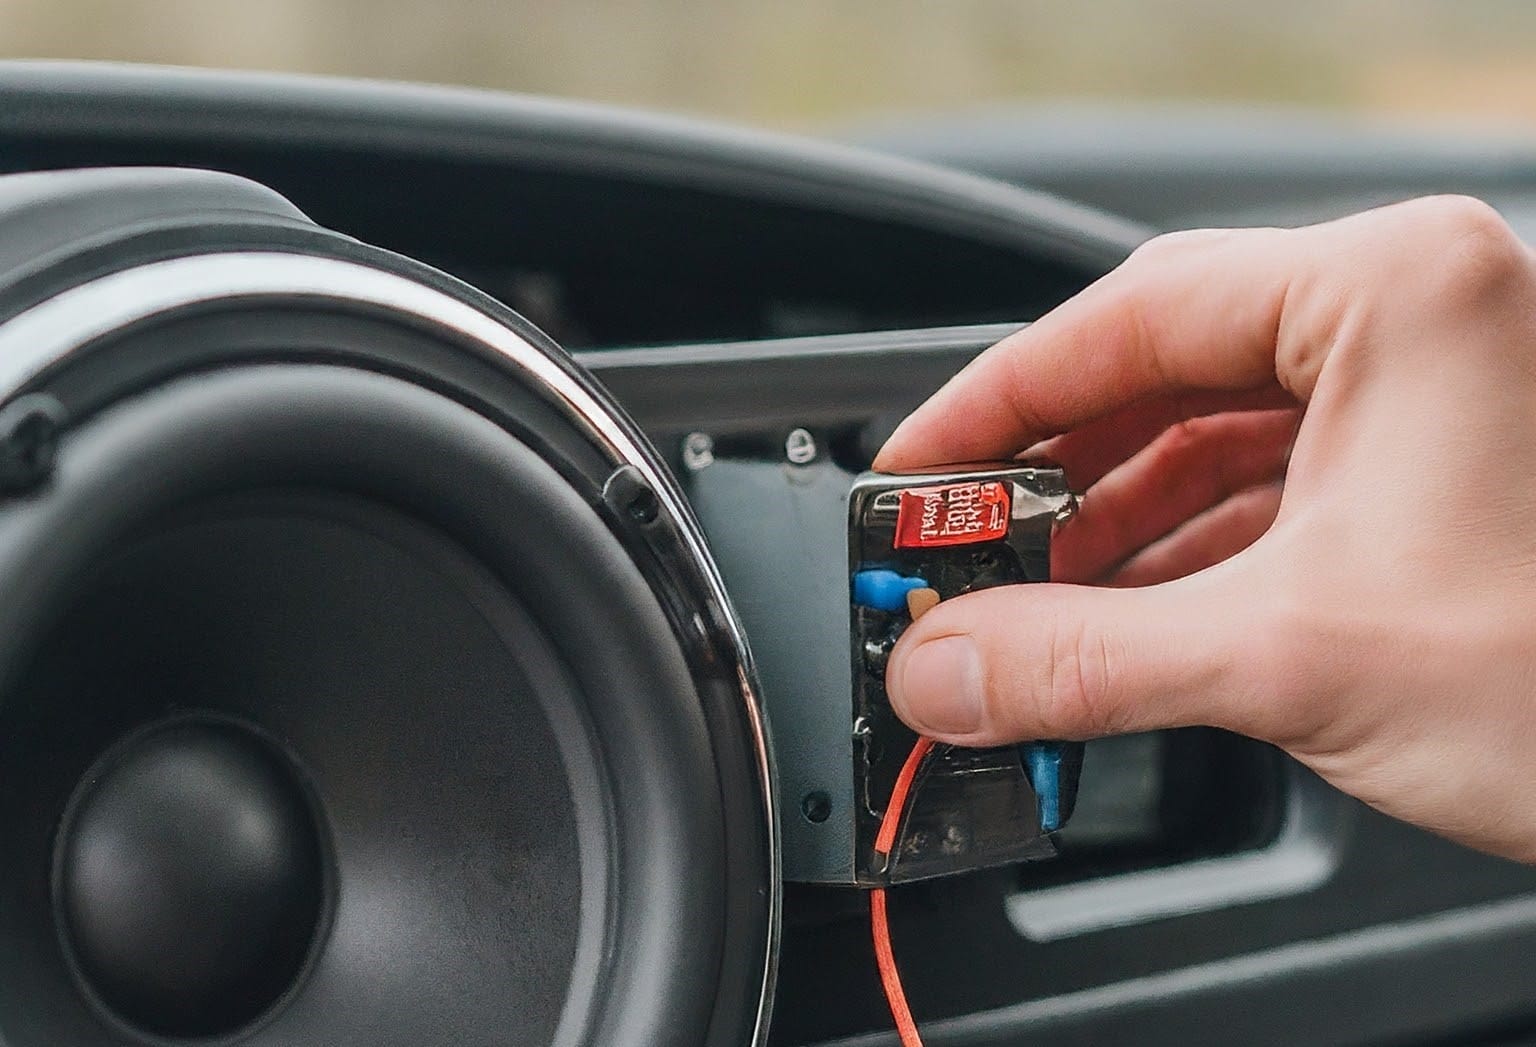
Installing a car amplifier can significantly enhance your audio experience on the road. However, the process may seem daunting for beginners. Fear not, as we’ve compiled a step-by-step guide to help you through the installation process. We’ll cover everything from essential accessories to less-discussed aspects like optimal mounting and wire routing. So, let’s dive in!
Essential Accessories for Installation
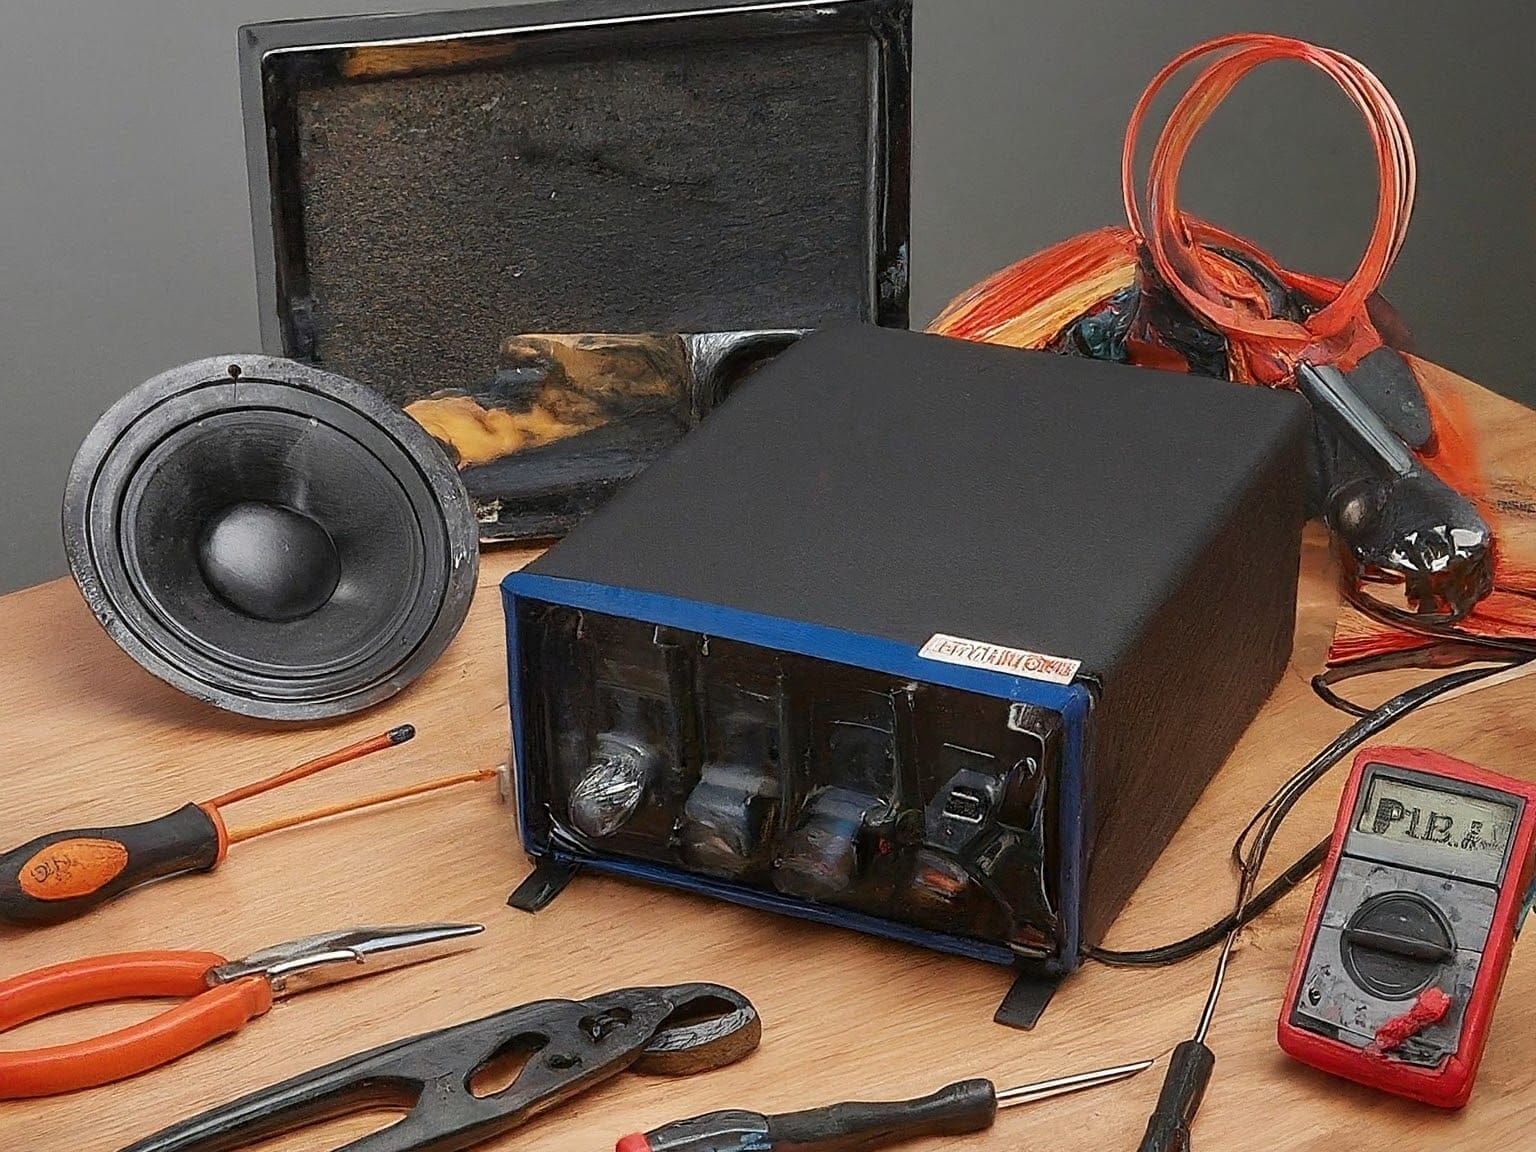
Before you begin the installation process, gather all the necessary accessories and tools. Here’s a list of items you’ll need:

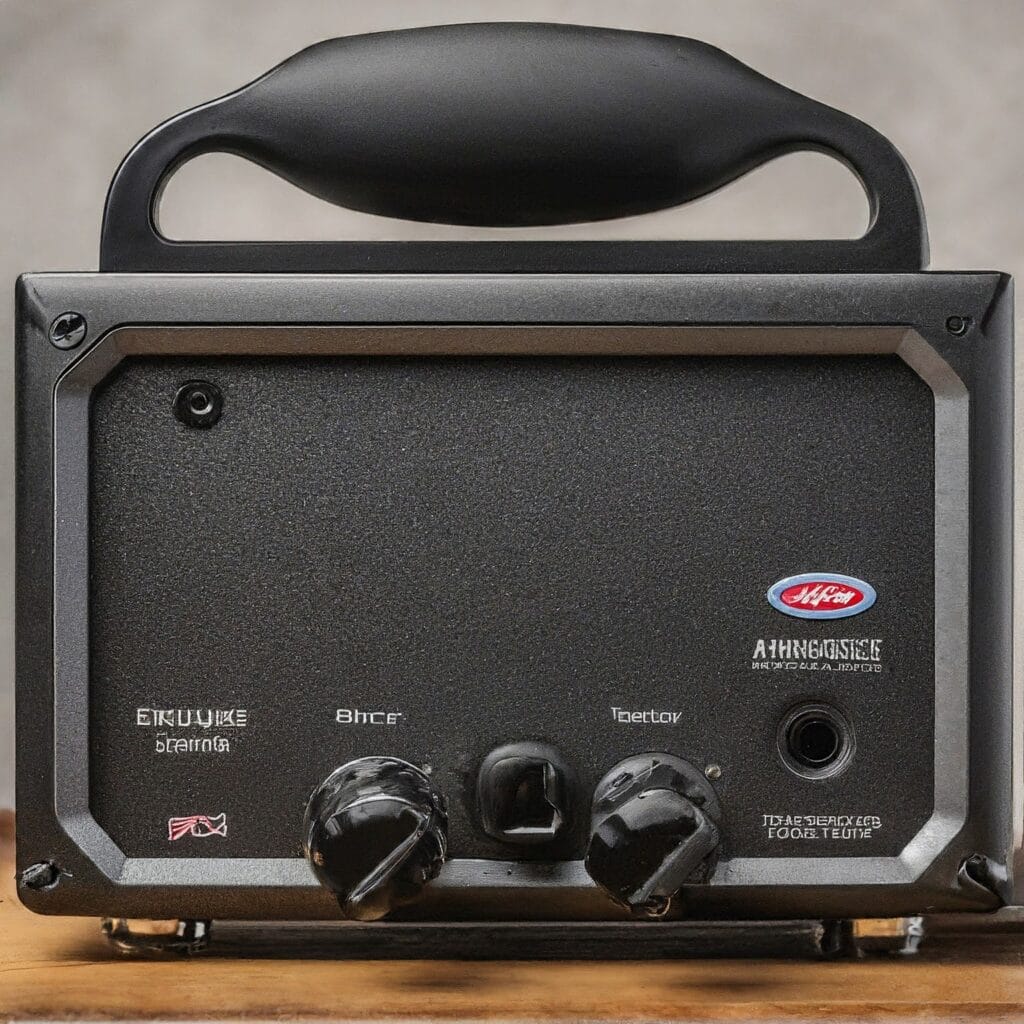
Car amplifier
Choose an amplifier that suits your audio needs and vehicle specifications. Consider factors such as power output, number of channels, and compatibility with your existing audio system.
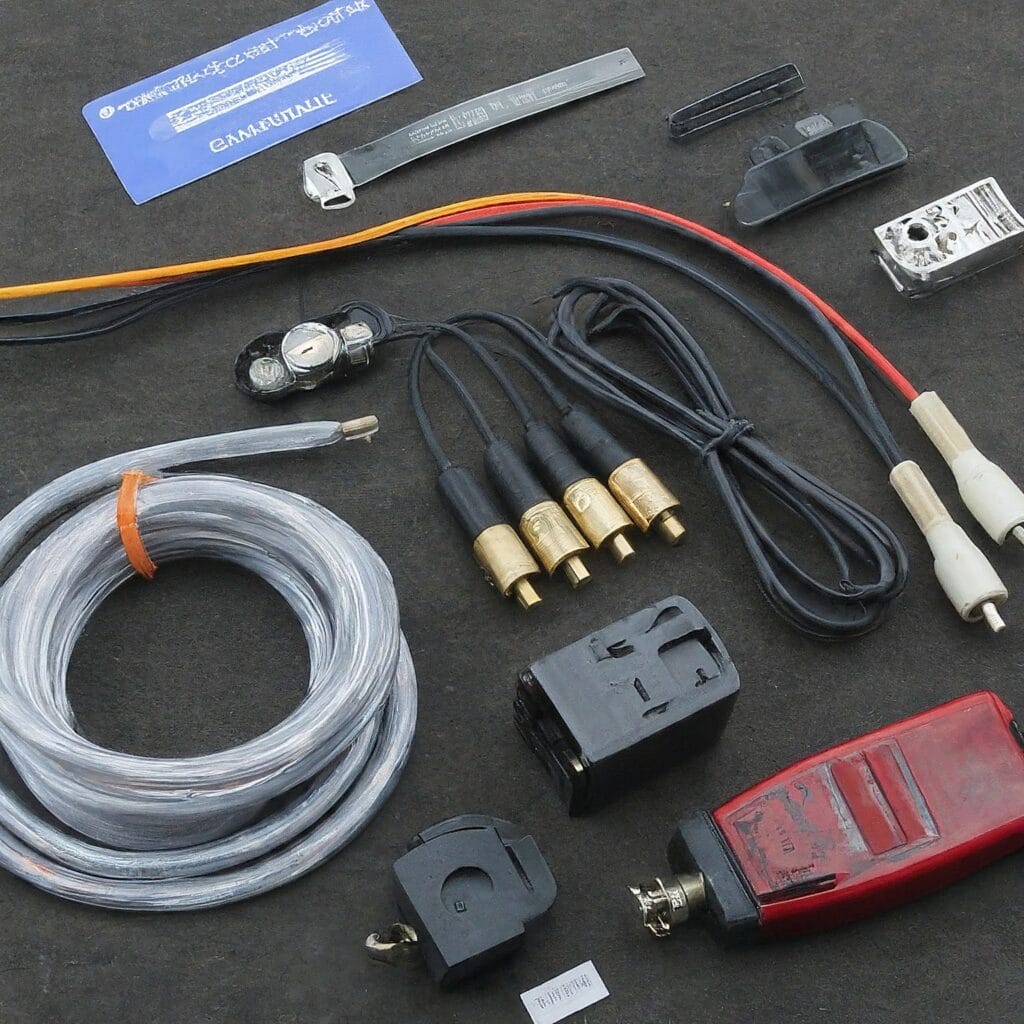
Amplifier wiring kit
Purchase a quality wiring kit that includes all the necessary cables and connectors for installation. Look for kits that are specifically designed for car audio applications and provide sufficient wire gauges for your amplifier’s power requirements.

Screwdriver set
A set of screwdrivers of various sizes and types will be needed to secure the amplifier and make connections.


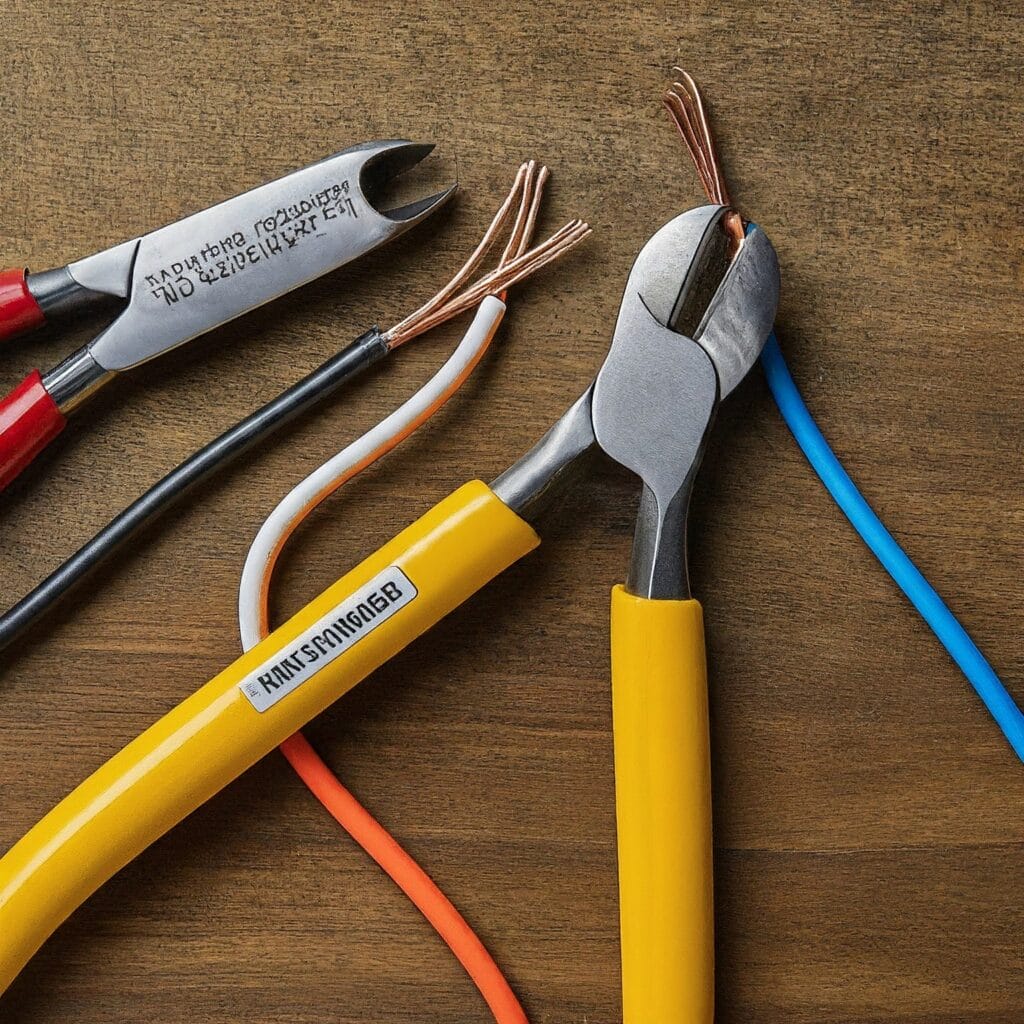
Wire cutters/strippers
These tools are essential for cutting and stripping the insulation from wires for proper installation.

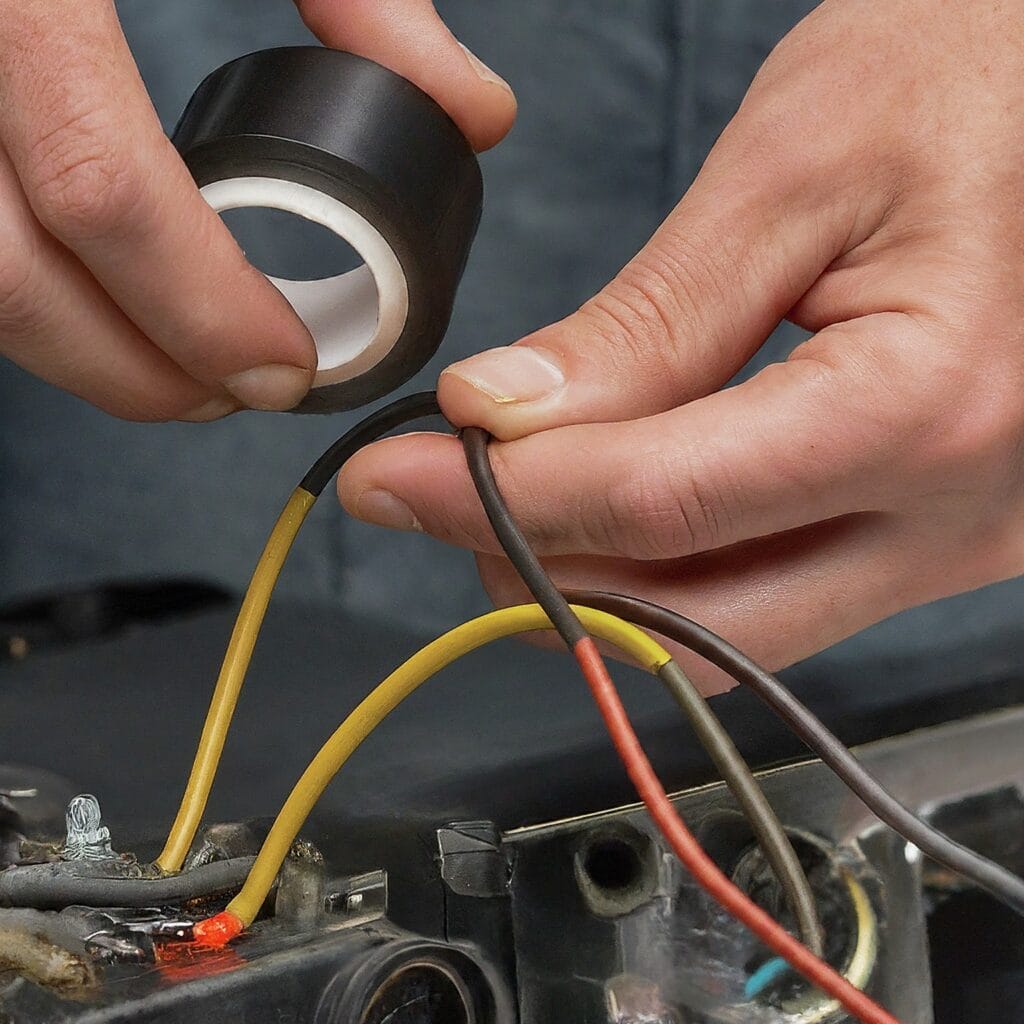
Electrical tape
Use electrical tape to insulate wire connections and prevent short circuits.

Drill and drill bits (if necessary for mounting)
If you need to drill holes for mounting the amplifier or routing wires, make sure you have a drill and appropriate drill bits on hand.


Wire loom or conduit (optional, for wire protection)
To protect wires from damage and improve the appearance of the installation, consider using a wire loom or conduit to cover exposed wires.

Optimal Mounting Locations for Your Amp
Choosing the right location to mount your amplifier is crucial for both performance and safety. Consider the following factors when selecting a mounting spot:
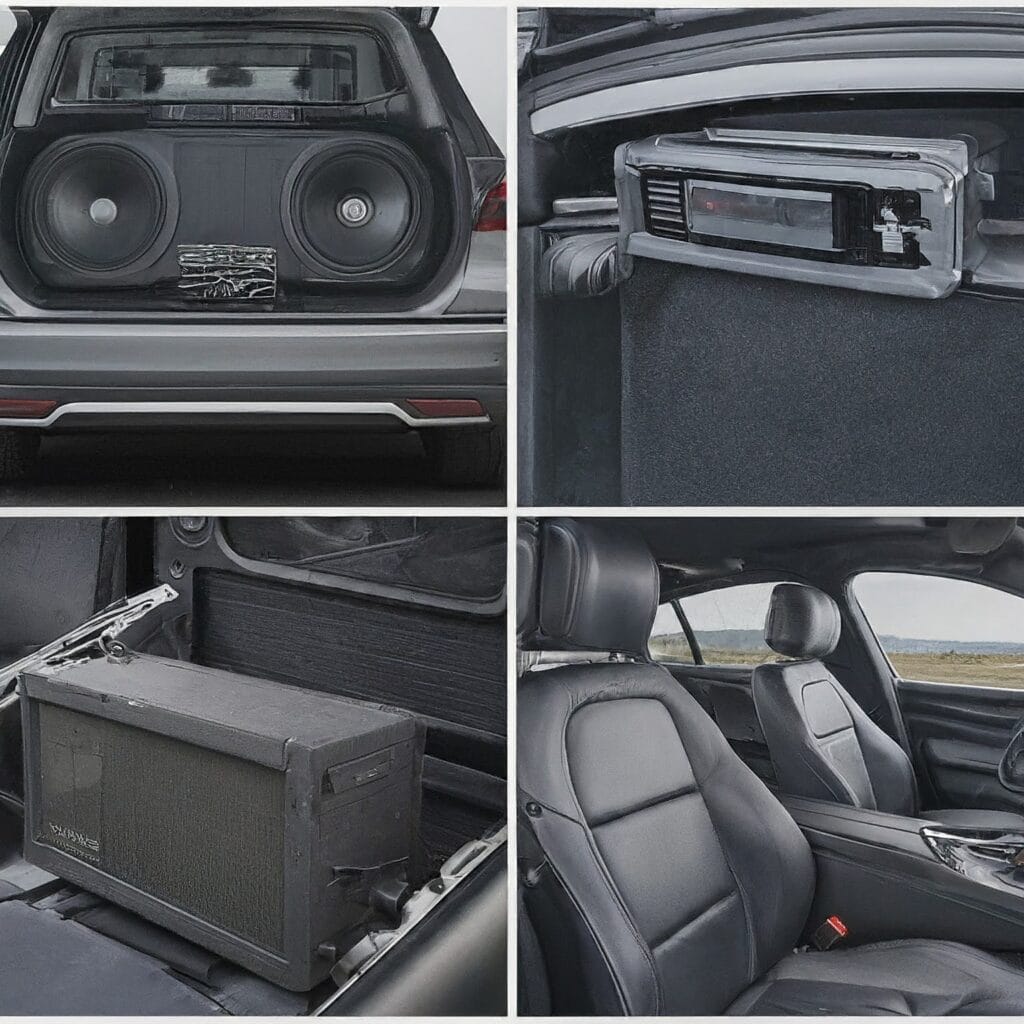

Adequate ventilation:
Amplifiers generate heat during operation, so choose a location with sufficient airflow to prevent overheating. Avoid mounting the amplifier in enclosed spaces or near heat sources.
Protection from moisture and debris:
Select a mounting location that is shielded from water, dirt, and other environmental hazards. Avoid mounting the amplifier in areas prone to moisture or where it may be exposed to road debris.
Accessibility for wiring and adjustments:
Choose a location that allows easy access to the amplifier’s controls and wiring connections. Consider future maintenance and adjustments when selecting the mounting spot.
Stability:
Mount the amplifier securely to prevent vibrations and movement while driving. Use mounting screws or brackets to fasten the amplifier to a solid surface, such as the vehicle’s chassis or a custom mounting bracket.
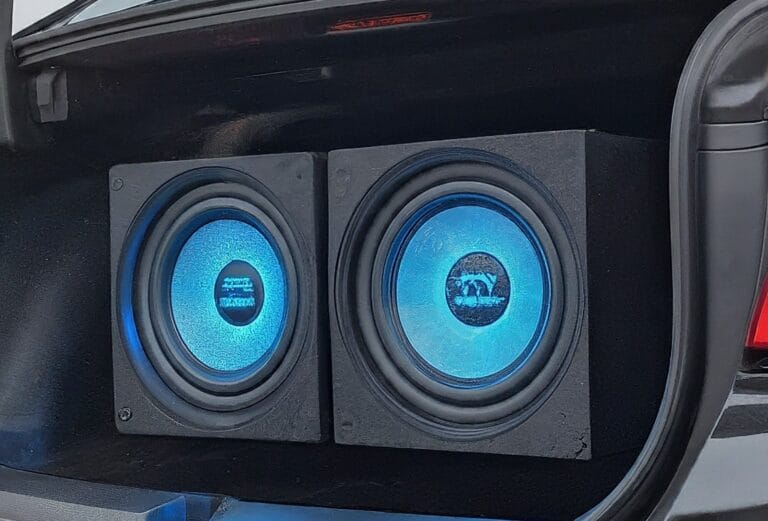
Common mounting locations include the trunk, under a seat, or in a custom enclosure. Ensure that the amplifier is securely fastened using mounting screws or brackets.
Strategic Wire Routing for Your Amp
When routing wires for your amplifier, prioritize safety and aesthetics. Here are some tips for running wires:
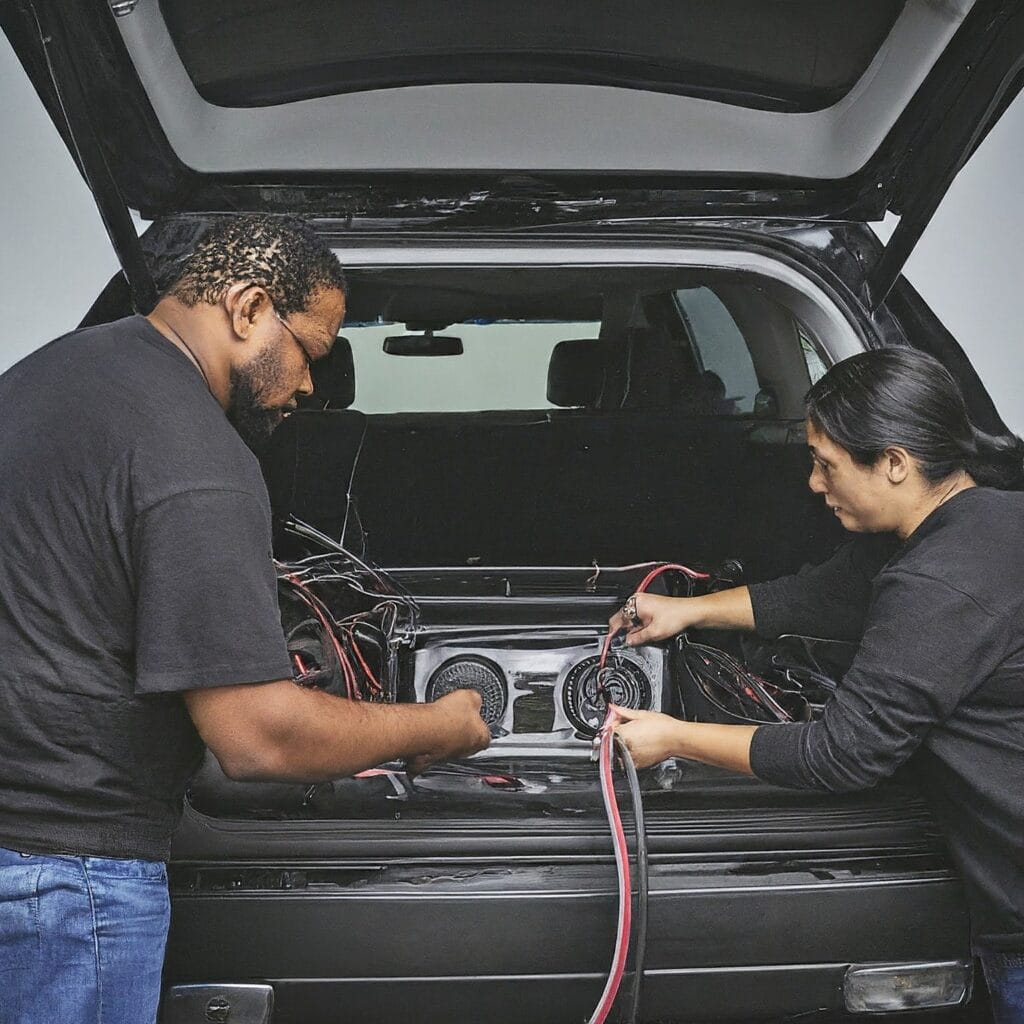

- Use existing wire channels or conduits whenever possible to minimize exposure and protect the wires from damage.
- Keep power and RCA cables separate to avoid interference and signal degradation. Route power wires away from sensitive audio cables to prevent noise and distortion.
- Secure wires away from moving parts and hot components to prevent damage and ensure safe operation.
- Use a wire loom or conduit to protect wires from abrasion, heat, and moisture. This additional layer of protection can prolong the life of your wiring and improve the overall appearance of the installation.
Amplifier wiring diagram:
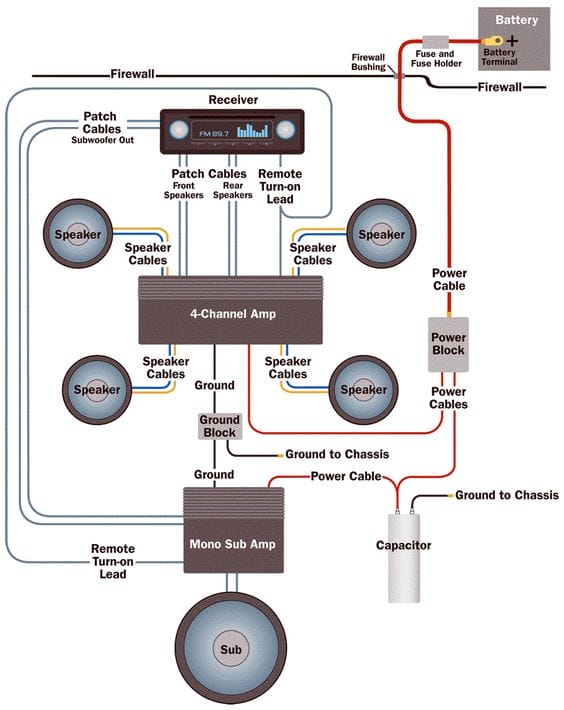

Now, let’s dive into the step-by-step installation process
Step 1: Safely Disconnecting the Battery
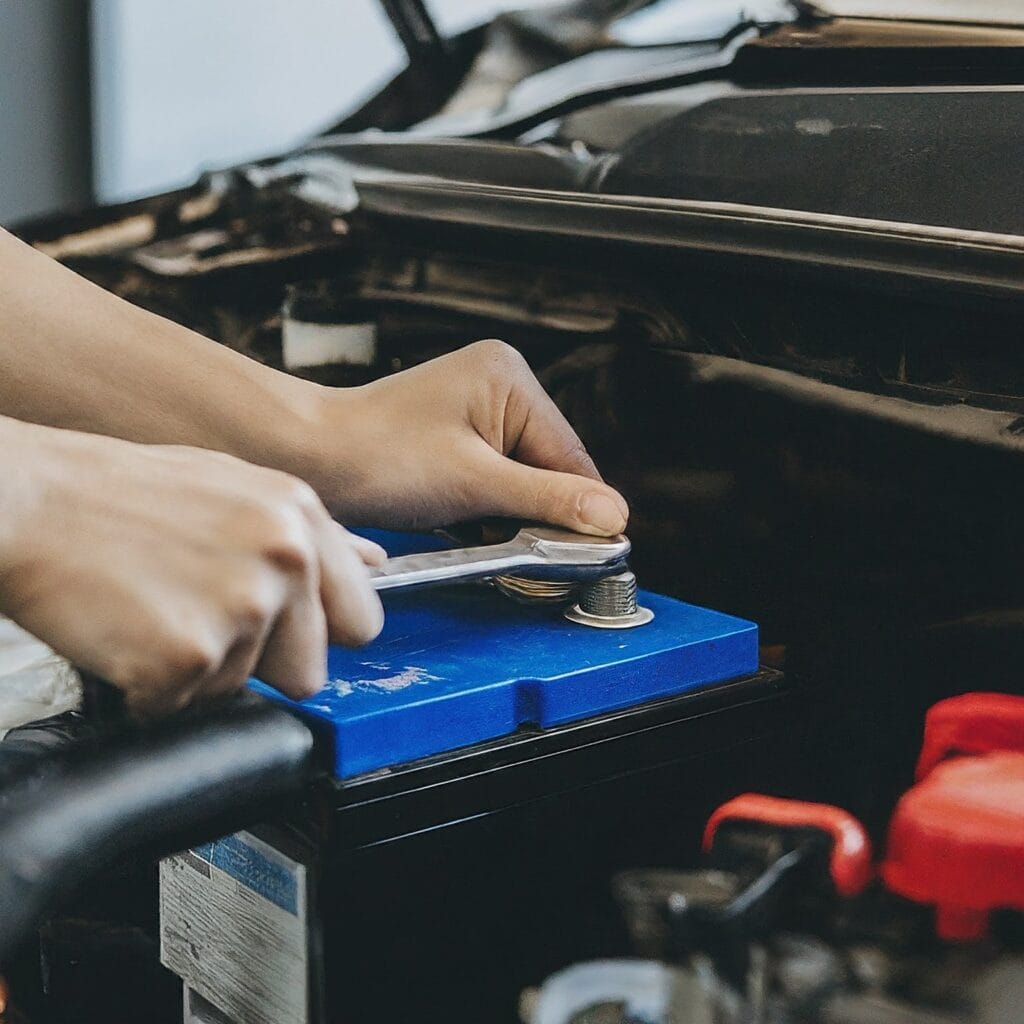

Safety first! Before beginning any work, disconnect the vehicle’s battery to prevent electrical accidents. Locate the vehicle’s battery and use a wrench to loosen the negative terminal clamp. Carefully remove the negative (-) cable from the battery terminal and secure it away from the battery to prevent accidental reconnection.
Step 2: Securely Mounting the Amplifier
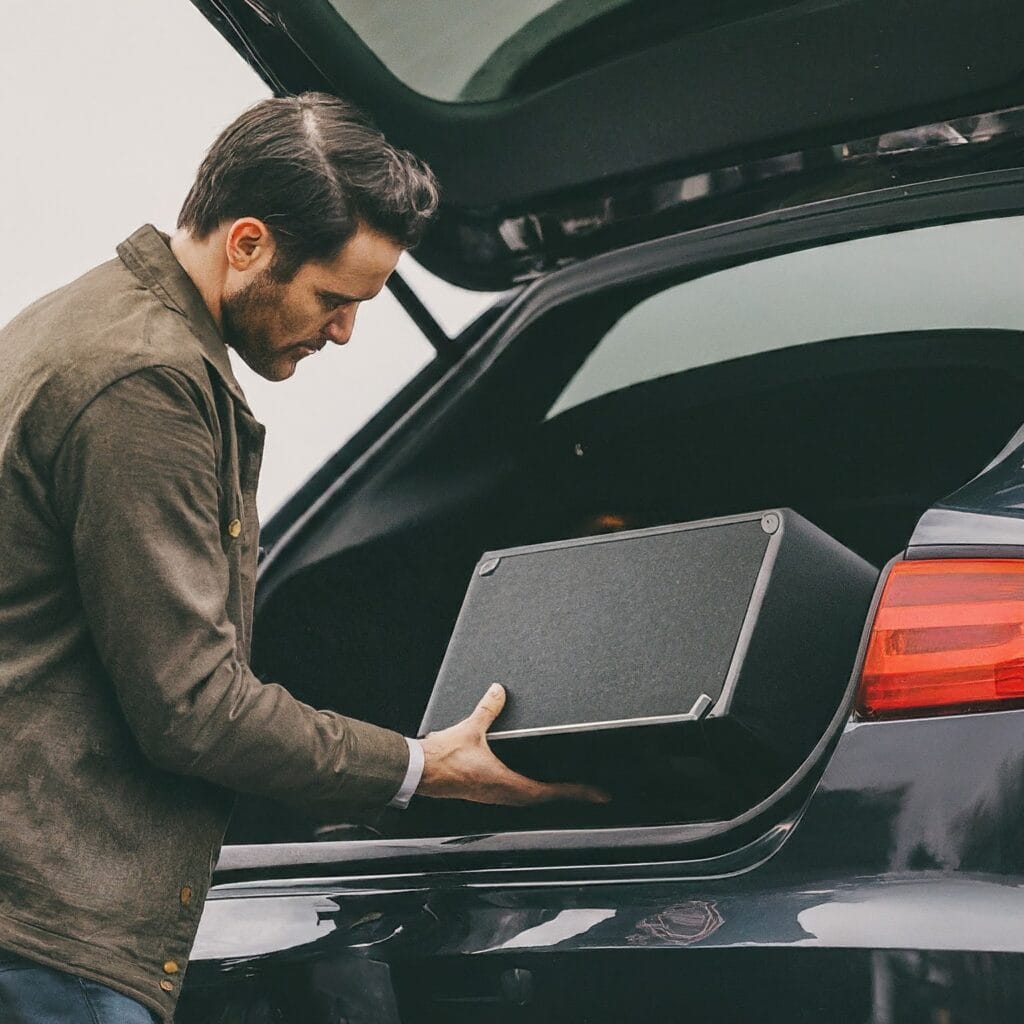

Choose a suitable location for the amplifier and securely mount it using screws or brackets. Ensure proper ventilation to prevent overheating and allow for optimal performance. Consider the amplifier’s size and shape when selecting a mounting spot, and ensure that it will not interfere with other vehicle components or passengers.
Step 3: Properly Installing the Power Wire
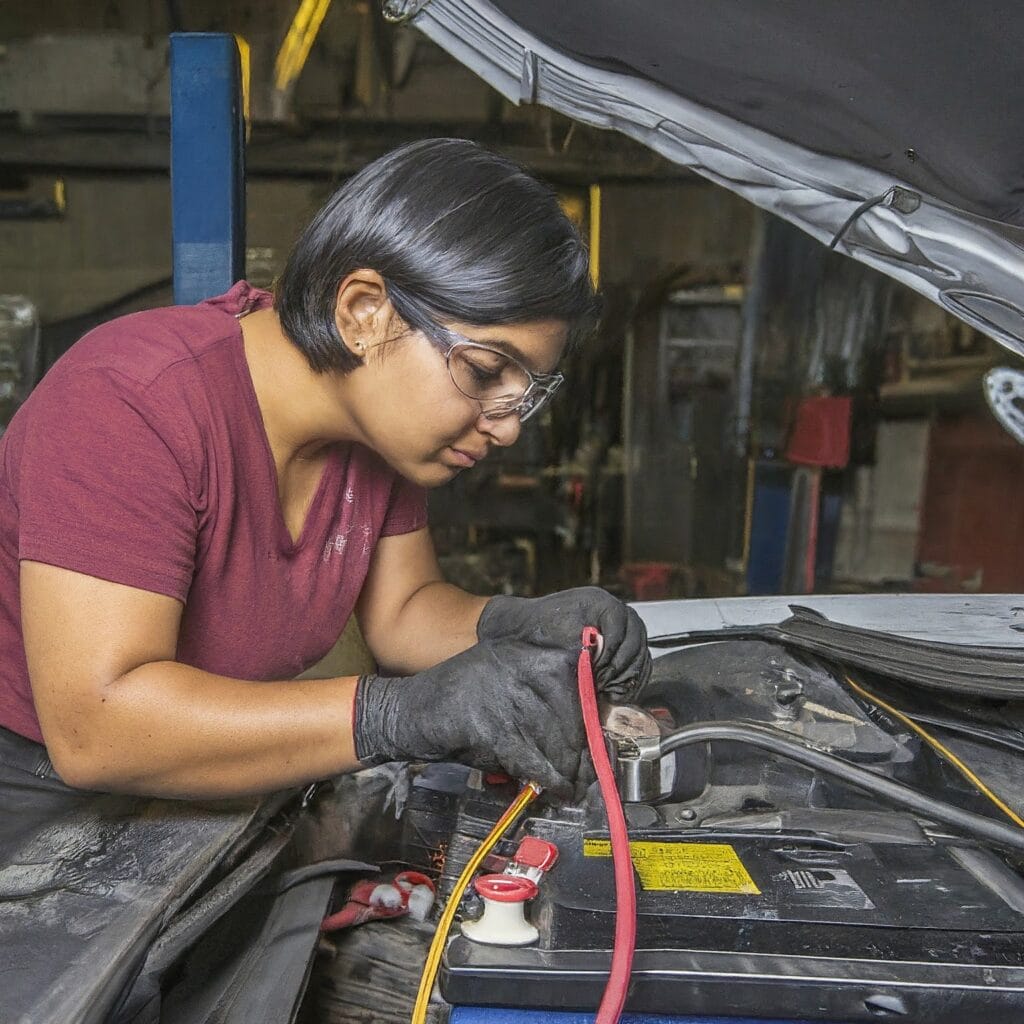

Run the power wire from the battery to the amplifier location, following existing wire channels or using a wire loom for protection. Select an appropriate route that minimizes exposure to heat, moving parts, and sharp edges. Use wire ties or clips to secure the power wire along the way and prevent it from dangling or getting tangled.
Before making any connections, carefully measure and cut the power wire to the correct length. Use wire cutters/strippers to trim the wire and remove any insulation as needed. Strip about 1/2 inch of insulation from the ends of the wire to expose the bare copper conductor.
Step 4: Installing the Fuse Holder
Install a fuse holder near the battery to protect the amplifier and vehicle from electrical faults. The fuse holder should be located within 18 inches of the battery and mounted securely to a solid surface. Choose an appropriate fuse rating based on the amplifier’s power requirements and the wire gauge used for the power wire.
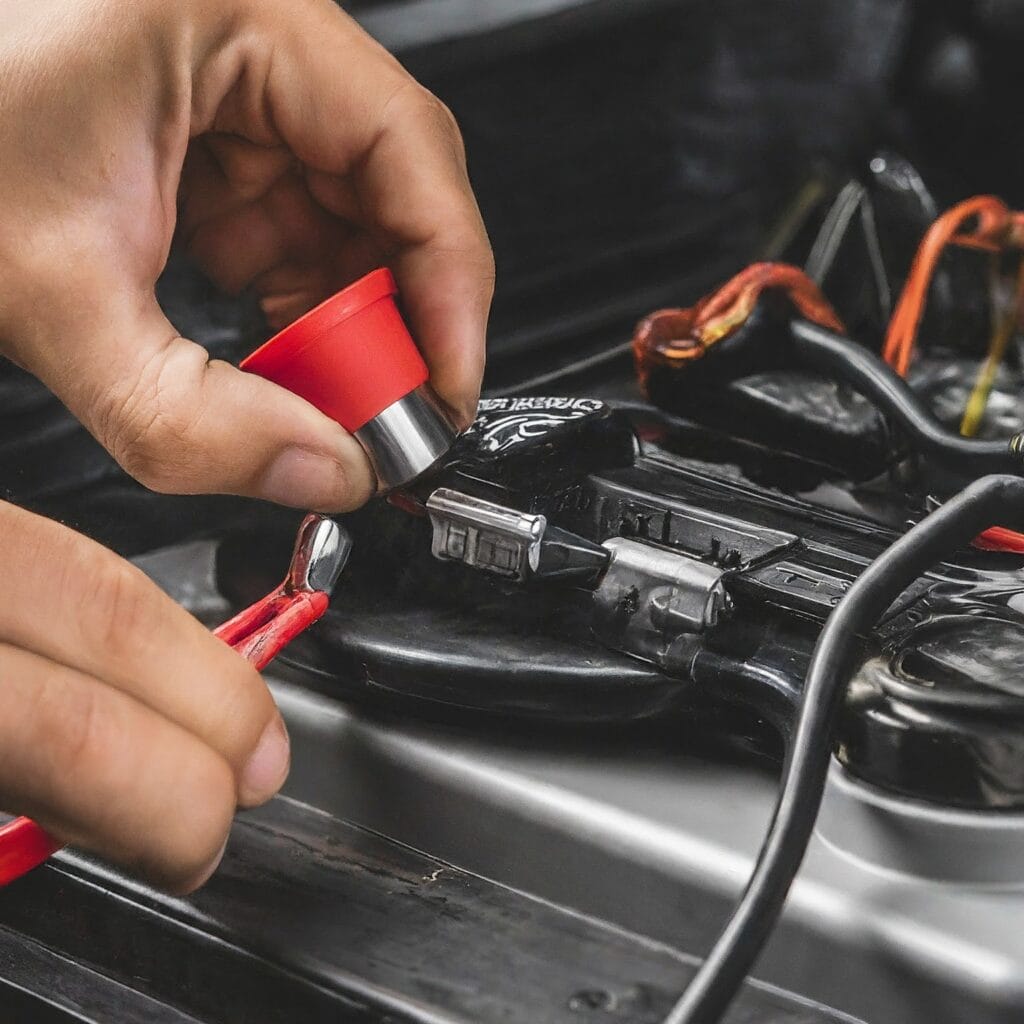

To install the fuse holder, follow these steps:
- Select a suitable location for the fuse holder near the battery. Ensure that it is easily accessible for future maintenance and inspections.
- Use a drill and appropriate drill bit to create a mounting hole for the fuse holder bracket.
- Secure the fuse holder bracket to the mounting surface using screws or bolts.
- Insert the appropriate fuse into the fuse holder, ensuring that it matches the specified amp rating for your amplifier and wiring setup.
- Connect one end of the power wire to the positive terminal of the battery using an appropriate ring terminal or connector.
- Connect the other end of the power wire to the input terminal of the fuse holder using a crimp connector or terminal block.
- Secure all connections and cover them with electrical tape or heat shrink tubing to protect against moisture and corrosion.
Step 5: Connecting the Power Wire
With the fuse holder installed, you can now connect the power wire to the battery and amplifier. Follow these steps:
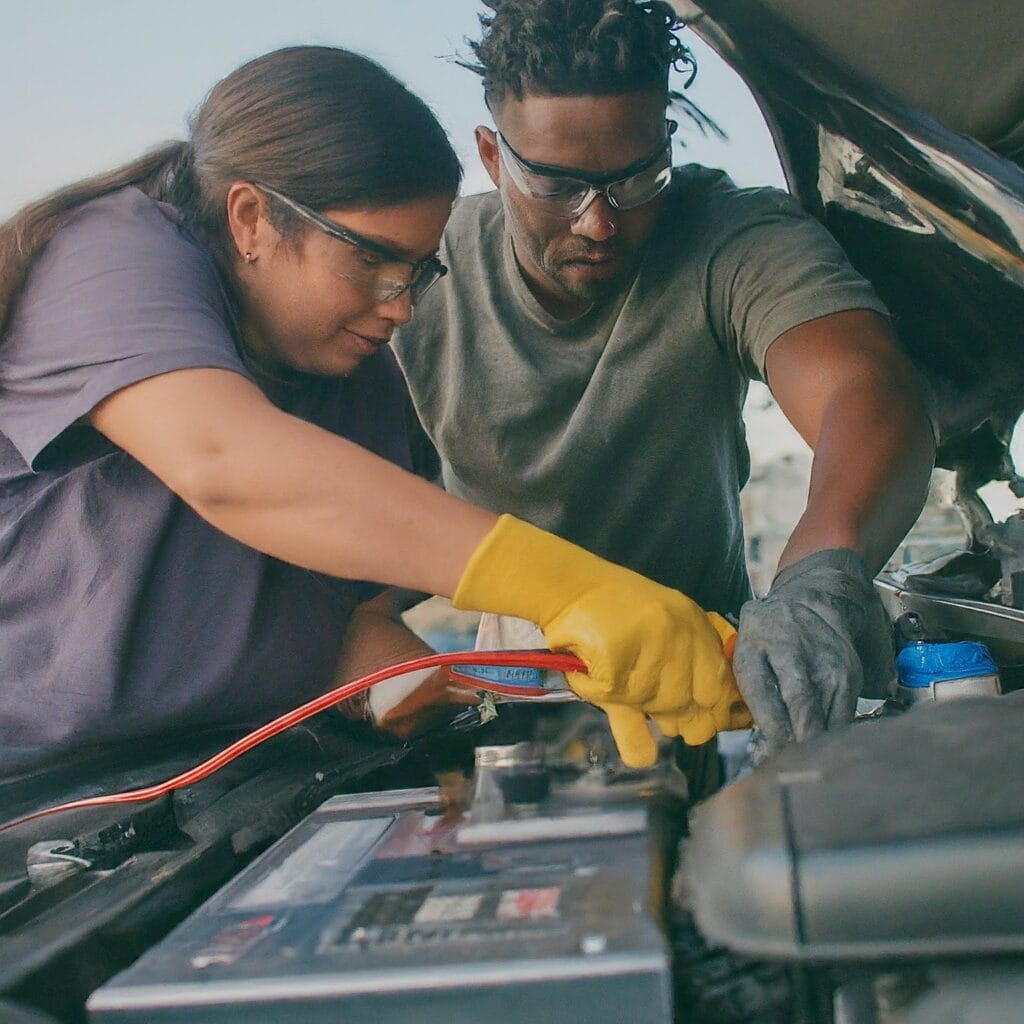

- Disconnect the positive terminal of the battery if you haven’t already done so.
- Attach the ring terminal or connector at one end of the power wire to the positive terminal of the battery.
- Tighten the terminal clamp securely to ensure a reliable connection.
- Route the power wire to the amplifier location, following the planned route and securing it with wire ties or clips as needed.
- Connect the other end of the power wire to the amplifier’s power input terminal. Ensure that the connection is tight and secure to prevent voltage drop or arcing.
- Double-check all connections and ensure that there are no exposed wires or loose connections that could cause electrical hazards.
Step 6: Ensuring a Solid Ground Connection
Proper grounding is essential for the safe and efficient operation of your amplifier. Follow these steps to ground the amplifier:
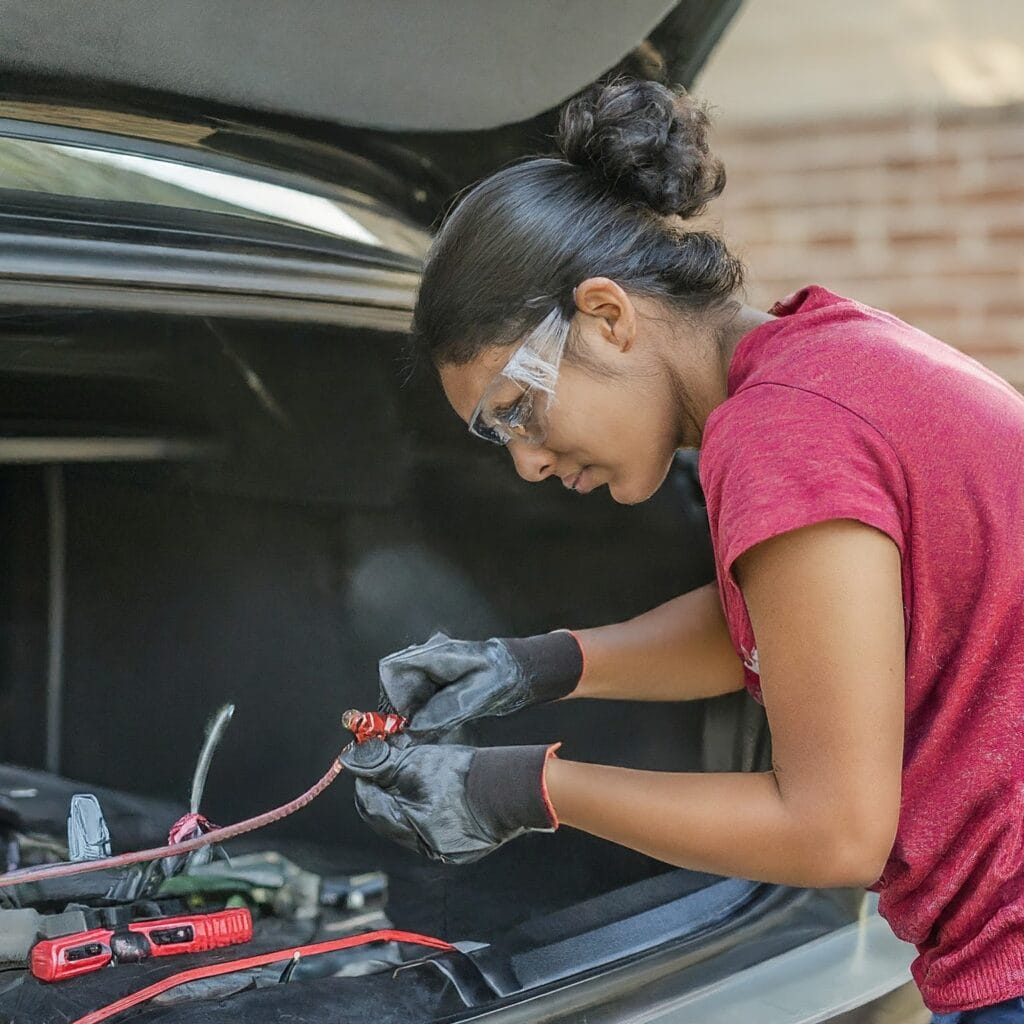

- Select a suitable grounding point near the amplifier location. Choose a solid metal surface that is free from paint, rust, or corrosion.
- Use a wire brush or sandpaper to clean the grounding point and remove any surface contaminants.
- Drill a small pilot hole if necessary to create a mounting point for the ground wire lug or connector.
- Attach the ground wire lug or connector to the grounding point using a bolt or screw. Ensure that the connection is tight and secure.
- Connect the other end of the ground wire to the amplifier’s ground terminal. Use a crimp connector or terminal block to make a secure connection.
- Double-check all connections and ensure that there are no loose wires or connections that could cause grounding issues.
Step 7: Connecting the Remote Turn-On Wire
The remote turn-on wire is used to activate the amplifier when the head unit is powered on. Follow these steps to connect the remote turn-on wire:
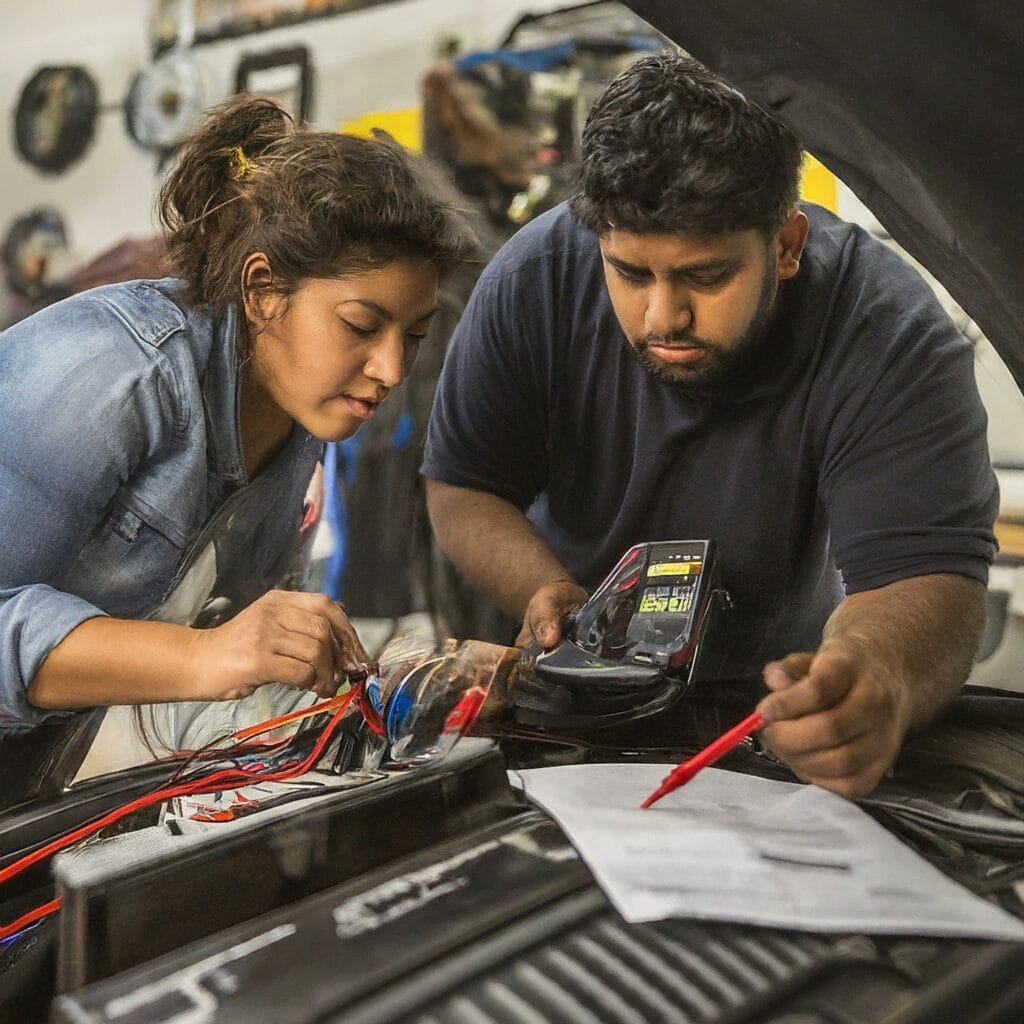

- Locate the remote turn-on wire on your head unit or aftermarket stereo. This wire is typically labeled as “remote,” “antenna,” or “amp turn-on” and is usually blue or blue with a white stripe.
- If your head unit has a dedicated remote turn-on output, simply connect the remote wire from the amplifier wiring kit to this output using a crimp connector or soldering iron.
- If your head unit does not have a dedicated remote turn-on output, you can use a switched power source, such as the accessory wire (usually red) on the head unit’s wiring harness. Connect the remote wire from the amplifier wiring kit to this switched power source using a crimp connector or soldering iron.
- Once connected, secure the remote wire along with the other wiring using wire ties or clips. Ensure that the connection is secure and that there are no exposed wires.
- Double-check all connections and ensure that the remote turn-on wire is properly connected to the amplifier’s remote turn-on terminal.
Step 8: Establishing Signal Connections
Now it’s time to connect the RCA cables from the head unit to the amplifier. Follow these steps:
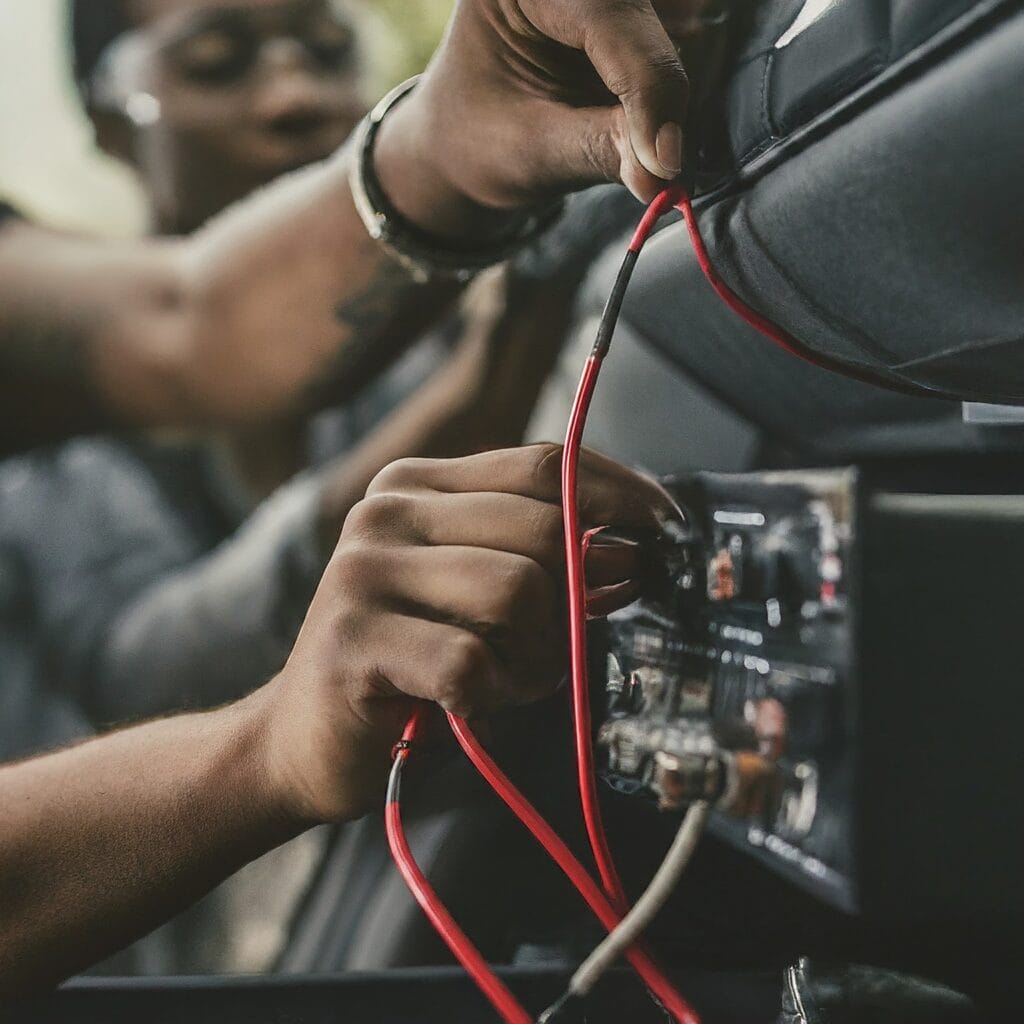

- Locate the preamp outputs on your head unit or aftermarket stereo. These outputs are typically labeled as “RCA out” or “preamp out” and are usually located on the rear panel of the head unit.
- Connect one end of the RCA cables from the head unit’s preamp outputs to the corresponding inputs on the amplifier. Match the left (white or gray) and right (red) channels accordingly.
- Ensure that the RCA cables are securely connected and that there are no loose connections or exposed wires.
- Route the RCA cables away from power wires and other sources of interference to minimize signal noise and distortion.
- Secure the RCA cables along with the other wiring using wire ties or clips, ensuring that they are not pinched or bent sharply.
- Double-check all connections and ensure that the RCA cables are properly connected to the amplifier’s input terminals.
Step 9: Wiring Your Speakers
Next, you’ll need to connect the amplifier to your vehicle’s speakers. Follow these steps:
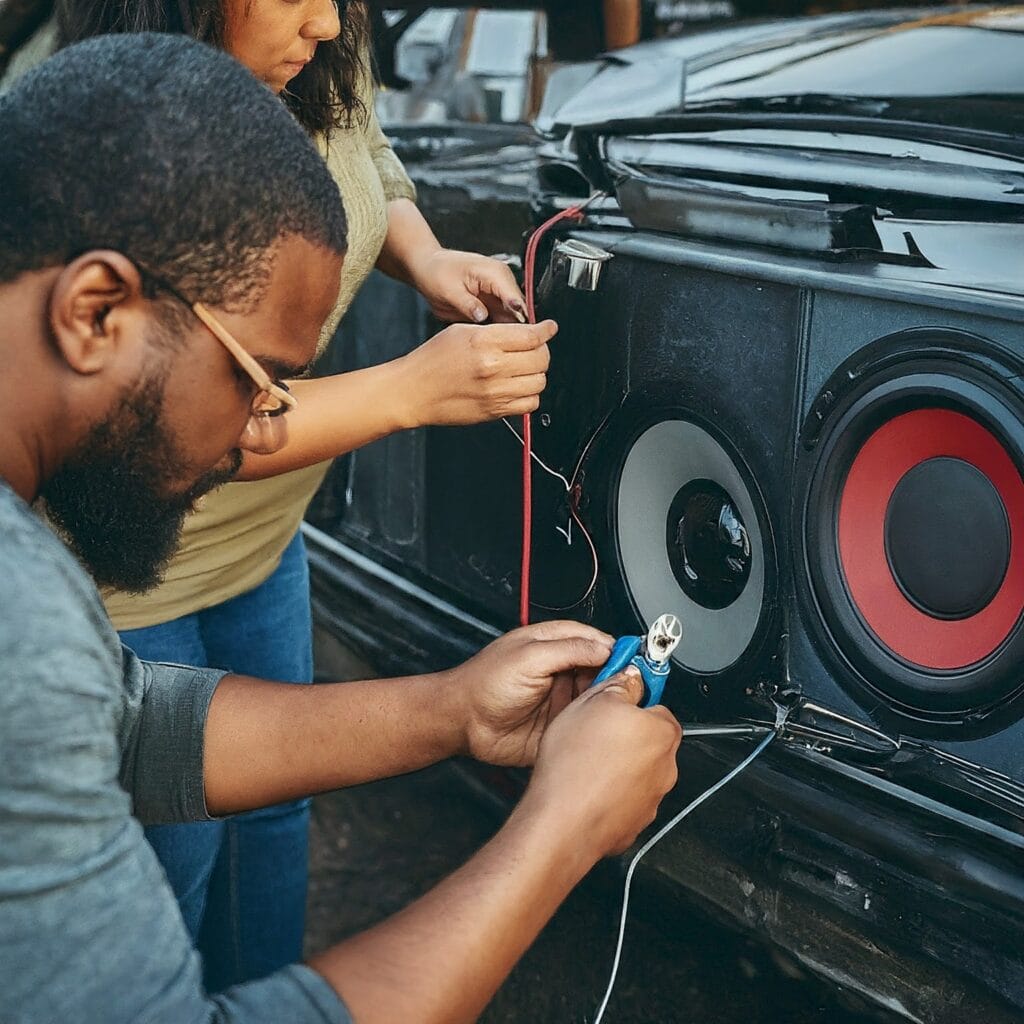

- Determine the appropriate gauge of speaker wire needed for your installation based on the amplifier’s power output and the length of the wire run.
- Measure and cut the speaker wire to the required lengths, ensuring that you have enough wire to reach each speaker from the amplifier.
- Strip about 1/2 inch of insulation from each end of the speaker wire using wire cutters/strippers.
- Connect one end of the speaker wire to the amplifier’s speaker output terminals. Match the positive (+) and negative (-) terminals on the amplifier to the corresponding terminals on the speaker wire.
- Route the speaker wire to each speaker location, following existing wire channels or using a wire loom for protection.
- Connect the other end of the speaker wire to the corresponding terminals on each speaker, ensuring proper polarity (+ to +, – to -).
- Secure all speaker wire connections with crimp connectors or terminal blocks, ensuring that there are no loose wires or exposed connections.
- Double-check all connections and ensure that the speaker wires are properly connected to both the amplifier and speakers.
Step 10: Connecting All Wires
With all the wires in place, it’s time to connect everything. Follow these steps:


- Double-check all wire connections, ensuring that all connections are tight and secure.
- Use electrical tape or heat shrink tubing to insulate any exposed wire connections and prevent short circuits.
- Secure all wires along their routes using wire ties or clips, ensuring that they are not dangling or interfering with other components.
- Organize the wiring to minimize clutter and improve the appearance of the installation.
- Check for any loose connections or exposed wires that may pose a safety hazard.
- Once everything is connected and secured, recheck all connections to ensure they are properly seated and secure.
Step 11: Powering Up the System
Now that everything is connected and secured, it’s time to power up your amplifier. Follow these steps:


- Reconnect the vehicle’s battery by attaching the negative (-) cable to the battery terminal and tightening the terminal clamp securely.
- Turn on the vehicle’s ignition and power up the head unit or aftermarket stereo.
- Gradually increase the volume on the head unit and monitor the amplifier for any signs of abnormal operation, such as excessive heat or distortion.
- Adjust the amplifier’s settings as needed to achieve the desired sound quality and performance.
- Enjoy your newly installed car amplifier and upgraded audio system!
- By following these detailed steps and guidelines, you can successfully install a car amplifier and enjoy enhanced audio performance in your vehicle. Remember to take your time, double-check all connections, and prioritize safety throughout the installation process. With a little patience and attention to detail, you’ll be cruising down the road with a powerful audio system that delivers clear, dynamic sound.
Bonus Tips:
- Seek professional help if unsure at any stage. Improper installation can damage your car’s electrical system or speakers.
- Consider sound-deadening material to reduce road noise and enhance sound quality.
- Don’t overdo the bass boost. Distorted sound is not only unpleasant but can damage your speakers.
- Respect your neighbors and fellow drivers. Enjoy your upgraded sound system responsibly.
Final Note:
installing a car amplifier is a rewarding DIY project that can significantly enhance your vehicle’s audio system. By following the steps outlined in this guide and using the necessary accessories and tools, you can achieve professional-quality results. Remember to prioritize safety, proper wire routing, and secure connections throughout the installation process. With patience and attention to detail, you’ll soon be enjoying improved sound quality and performance on the road. Remember, meticulous planning, careful execution, and a dash of caution are the keys to a successful and safe car audio upgrade!
Happy Listening!

