How to Clean Car Seats | Step By Step
A clean and well-maintained car interior not only enhances the driving experience but also preserves the value of your vehicle. Our comprehensive guide shows you how to clean car seats step by step, ensuring your car is as clean and comfortable as possible.
Let’s face it, our cars become a second home, and like any home, they accumulate wear and tear. Spills, crumbs, and dirt take up residence on our beloved car seats, transforming once-pristine interiors into grimy landscapes. But fear not, fellow driver! Using this guide, you will learn how to clean any stain off your car seats and restore your interior’s sparkling appearance.
Table: Car Seat Cleaning Essentials
| STEP | TASK | UNIQUE TIPS & INSIGHTS |
| 1 | Gather Supplies | Include eco-friendly cleaners for a green touch. |
| 2 | Vacuuming | Use a nozzle attachment to reach tight spots, removing hidden dirt. |
| 3 | Pre-treating Stains | Apply a DIY mixture of baking soda and vinegar for stubborn stains. |
| 4 | Choosing the Right Cleaner | Opt for a pH-balanced cleaner to avoid damage to seat materials. |
| 5 | Scrubbing the Seats | Use a soft-bristle brush to gently scrub away dirt and grime. |
| 6 | Rinsing | Wipe down with a damp cloth to remove excess cleaner residue. |
| 7 | Drying | Allow sufficient drying time, preferably with windows open. |
| 8 | Condition and Protect | Apply a quality fabric conditioner to restore softness and protection. |
| 9 | Steam Cleaning | Use a steam cleaner for a deep, sanitizing clean without chemicals. |
| 10 | Leather Seat Care | Apply a leather conditioner for a luxurious finish and protection. |
| 11 | Odor Neutralization | Sprinkle baking soda and leave overnight to absorb lingering odors. |
| 12 | Regular Maintenance | Vacuum and wipe down seats regularly to prevent dirt buildup. |
Step-by-Step Guide:
1. Gather Supplies:

Before you begin, collect the following supplies:
- Vacuum cleaner
- Soft-bristle brush
- Microfiber cloths
- Warm water
- Dish soap
- PH-balanced cleaner
- Baking soda
- White vinegar
- Fabric conditioner
- Steam cleaner (optional)
- Leather conditioner (if applicable).
2. Vacuuming:
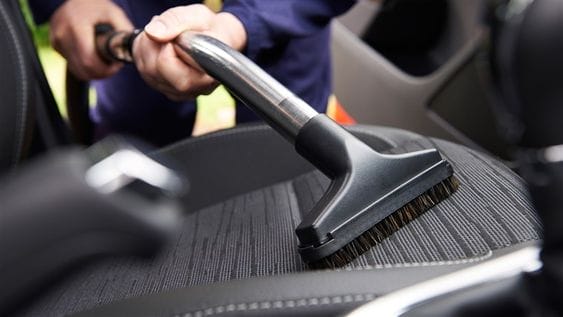
Start by thoroughly vacuuming your car seats. Use a nozzle attachment to access tight spaces between and beneath the seats. This step ensures the removal of loose dirt and debris that may cause fabric scratches during the cleaning process.
By doing this, you will be able to remove dust, debris, and pet hairs from the seat padding without putting it deeper into it. Last but not least, we use the brush to help lift the fibers of the fabric.
3. Pre-treating Stains:
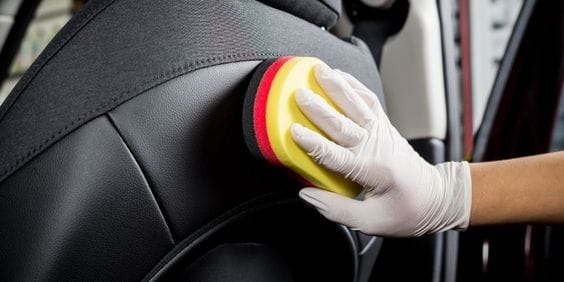
For stubborn stains, create a paste by mixing baking soda and white vinegar. We use a scrub brush and some cleaner on food stains, mud stains, and grease stains. Apply the paste to the stained areas, allowing it to sit for 15-20 minutes. This natural solution helps break down stains without harsh chemicals.
Got dye stains on your car seat? No worries! Lightly dampen the stain, mix dry oxygen-based bleach with a few drops of water to create a paste, and spread it over the stain. Let it sit for at least an hour, then vacuum away the powder. Repeat if needed. This trick works like magic to lift stubborn dye stains, leaving your car seats looking as good as new!
4. Choosing the Right Cleaner:
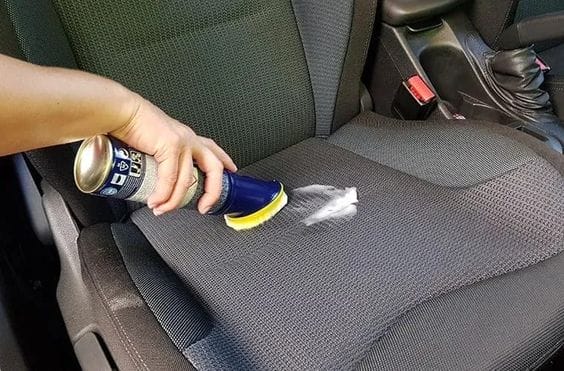
Select a pH-balanced cleaner specifically designed for car interiors. Avoid cleaners with harsh chemicals that could damage the seat materials. Always test a small, inconspicuous area before applying the cleaner to the entire seat. Look for terms like “fabric safe” or “interior cleaner.” Here are Some popular brands include:
- Pinnacle Interior Fabric & Carpet Cleaner
- 303 Fabric Cleaner
- Meguiar’s D101 Upholstery Cleaner
- Lexol Leather Conditioner
- Chemical Guys Leather Cleaner & Conditioner
- Weiman Leather Cleaner & Conditioner
- Armor All Leather & Vinyl Cleaner
- Sonus Upholstery and Leather Cleaner
- 303 Aerospace Protectant
5. Scrubbing the Seats:
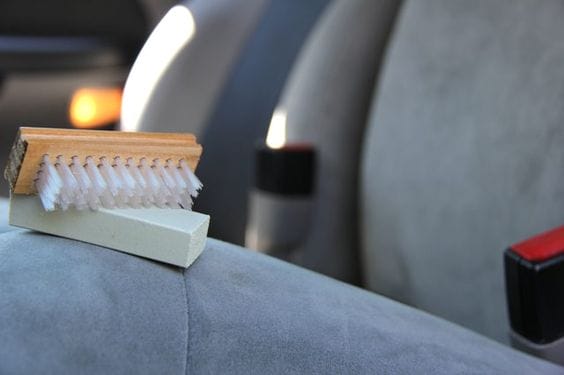
Gently scrub the seats with a soft-bristle brush, focusing on stained or heavily soiled areas. Use circular motions and apply moderate pressure to lift dirt and grime without damaging the fabric.
Grab a scrub brush and spray the cleaning solution on your seat. Start at the top and work your way down, making sure to cover every inch. If the brush gets dirty, give it a rinse in a bucket of clear water, shake off the extra water, and keep going. Easy-peasy!
6. Rinsing:
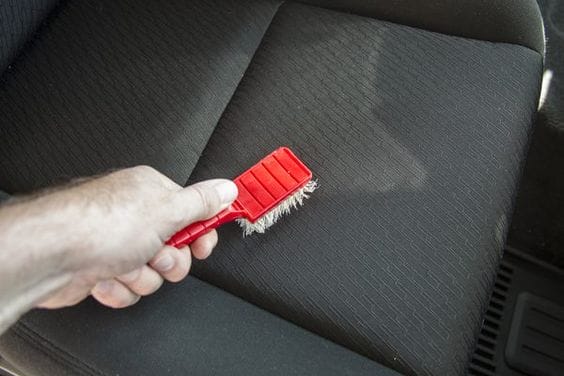
Wipe down the seats with a damp microfiber cloth to remove any excess cleaner residue. Make sure you thoroughly rinse the area, particularly in seams and crevices where cleaner may accumulate.
Microfiber cloths need to be dampened after the cleaning solution is applied. This step ensures the removal of any excess cleaner residue, leaving your car seats fresh and free from potential stickiness. Pay extra attention to seams and crevices, as these areas tend to accumulate cleaner, which, if left unchecked, can affect both the appearance and feel of your seats.
7. Drying:

Allow the seats to air dry naturally. If possible, leave the car windows open to expedite the drying process. It is recommended to refrain from using artificial heat sources, such as hair dryers or irons, as they can cause damage to the fabric due to excessive heat exposure.
It’s best to give your car seats two to three hours to dry completely before hopping back in. If you’re in a rush, get creative. Point a big fan into the car, direct airflow towards the seats, or strategically park your vehicle in the sunniest spot to speed up the drying process.
8. Condition and Protect:
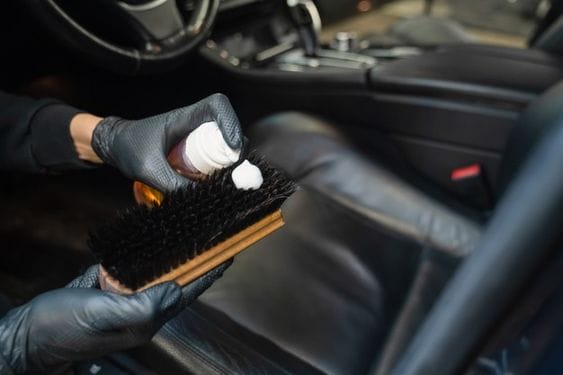
After ensuring that the seats are completely dry, apply a high-quality fabric conditioner to restore softness and protect against future stains. Now that your seats are fully dry, it’s time to elevate the experience. You can create a protective shield against future stains by using a top-notch fabric conditioner. For optimal results, follow these helpful steps:
- Choose a Quality Fabric Conditioner
- Apply Evenly
- Use Appropriate Amount
- Focus on Seams and Edges
- Allow for Absorption
- Regular Maintenance
Bonus Tips:
- Test on an inconspicuous area first
- Repeat the process periodically
- Pair with regular cleaning
9. Steam Cleaning:
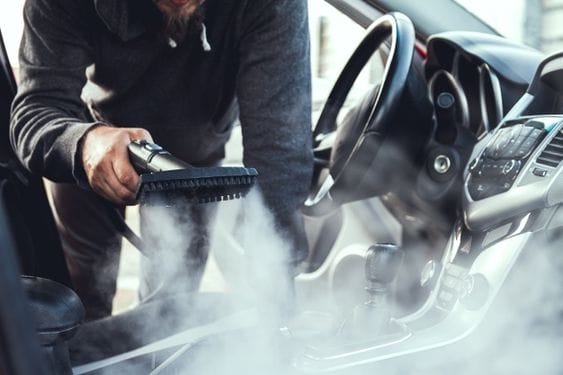
For a deep and sanitizing clean, consider using a steam cleaner. It is possible to remove embedded dirt and bacteria without using any additional chemicals through steam cleaning.
When it comes to achieving the pinnacle of cleanliness, consider the powerful and efficient method of steam cleaning for your car seats. This technique provides a thorough and sanitizing clean that eliminates embedded dirt and bacteria from deep within the surface. Here’s why steam cleaning is a game-changer:
- Chemical-Free Cleaning
- Effective Dirt and Bacteria Removal
- Gentle on Fabrics
- Allergen Reduction
- Quick Drying Time
- Versatility
- Investment in Long-Term Cleanliness
10. Leather Seat Care:
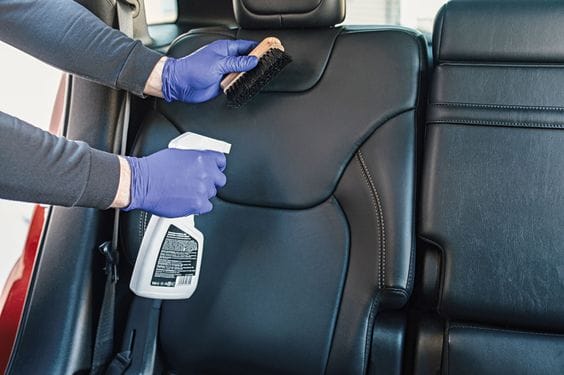
Apply leather conditioner to leather seats to maintain their suppleness and protect them from cracking. This step adds a luxurious finish to your interior.
It’s crucial to maintain leather seats properly to preserve their luxury and appearance. Follow these informative steps to maintain the supple beauty of your leather and shield it from potential cracking:
- Use a Specialized Leather Conditioner
- Frequency of Application
- Clean Before Conditioning
- Apply Evenly
- Avoid Overuse
- Sun Protection
11. Odor Neutralization:
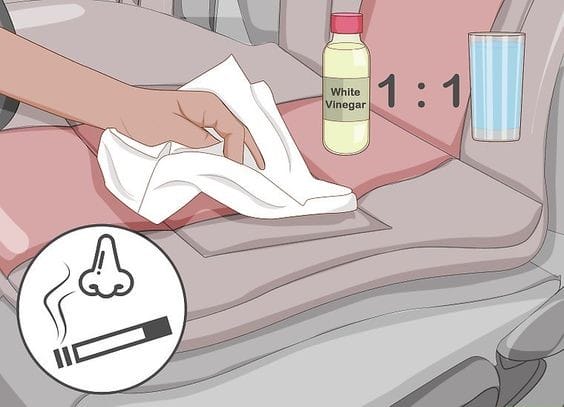
Baking soda can help eliminate lingering odors by being sprinkled on the seats and left overnight. Vacuum or brush off the baking soda the next day to reveal refreshed and odor-free seats.
Banishing stubborn odors from your car seats is a breeze with a simple but effective method. Follow these steps to make sure your seats not only look clean but also smell fresh:
- Sprinkle Baking Soda
- Work It In
- Leave It Overnight
- Vacuum or Brush Off
- Repeat as Needed
- Consider Odor-Specific Solutions
- Ventilation Matters
12. Regular Maintenance:
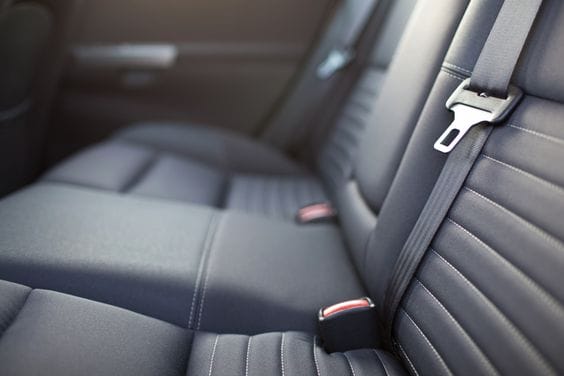
Establish a routine for regular seat maintenance. Vacuum and wipe down the seats regularly to prevent dirt and grime buildup, ensuring a consistently clean interior.
Maintaining a clean car interior isn’t just about aesthetics; it’s about hygiene and protecting your investment. The most important way to prevent dirt and grime buildup, extend the life of your upholstery, and maintain a consistently fresh interior, is to establish a routine for regular seat maintenance.
Final Note:
Maintaining your car seats isn’t just about cleanliness; it’s an investment in the overall comfort and aesthetics of your vehicle. Well-maintained interiors enhance your driving experience and preserve your car’s resale value.
By following these tips, you’re not only cleaning your vehicle. But also ensuring that every drive is a pleasure with a vehicle that looks and feels great. So, roll up your sleeves, embrace these maintenance practices, and enjoy a consistently pristine car interior!
Happy Cleaning!
FAQs:
How long are car seats good for?
Most car seats have an expiration date typically between 6 and 10 years from the date of manufacture. This date is usually stamped on a label under the seat or on the frame. While exceeding the expiration date doesn’t automatically make the seat unsafe, it indicates the materials may have degraded, compromising its protective capabilities in a crash.
When do car seats expire?
Car seats typically expire 6 to 10 years from their date of manufacture. The expiration date is crucial because safety standards, materials, and technology can change over time. Sun, heat, and cold can degrade materials and compromise safety features Even if a car seat looks visually intact, it might not provide the same level of protection after its expiration date.
Car seats expire due to several factors:
- Material degradation
- Exposure to elements
- Changes in safety standards
- Accidents
How long do car seats last?
The lifespan of car seats varies, but it is generally recommended to use them for 6 to 10 years. The specific duration depends on the manufacturer’s guidelines, and this information can usually be found on a label on the seat itself. Regularly checking for recalls and staying informed about safety standards is also important for the continued effectiveness of the car seat. The actual lifespan of your car seat can vary depending on several factors:
- Brand and quality
- Storage and care
- Exposure to wear and tear
Why do car seats expire?
Car seats expire for one simple reason: your child’s safety. Over time, materials can degrade, and safety standards may evolve. Additionally, advancements in technology and understanding of crash dynamics contribute to the expiration. Using an expired car seat may compromise its structural integrity and safety features, potentially putting a child at risk during a collision.
How to get stains out of car seats?
Accidents happen, and spills are inevitable. Here’s how to tackle common car seat stains:
- Identify the Stain Type
- Food and drink spills
- Blot the Stain
- Prepare a Cleaning Solution
- Test in an Inconspicuous Area
- Apply the Solution
- Rinse and Dry


